My list of top 13 14 items which I believe make breastfeeding easier (in no particular order)
Breast Pump - Medela Pump In Style® Advanced
 |
| Medela Pump In Style Advanced |
At first, I was using my First Years Single Breast Pump from 2003 ... until the motor went. As I shopped around for a replacement, I learned that under the Affordable Care Act, insurance companies are covering breast pumps nowadays! Yay! All I had to do was contact a medical supply company (for the breast pump iteself and the completed forms for processing) and my OB/GYN (for a script and verification I had a baby). Through this process I now am a proud owner of a Medela Pump In Style® Advanced and I love it!
Lanolin Cream - Lansinoh® HPA® Lanolin
 |
| Lansinoh HPA Lanolin |
Not to be confused with hand lotion ... yes, my sister used is as such when she visited us in the hospital a day after the baby was born ... although, I'm sure it works wonders for dry, chapped hands, too. Everywhere I read said nursing *should* be pain-free. Well, it's not - at least not for me. Never was. Not the first baby and not the second baby I nursed. Discovering lanolin for my ouchy boobs was God-sent. Combine with the shells below to eliminate stained clothes while experiencing the miraculous healing power covered up.
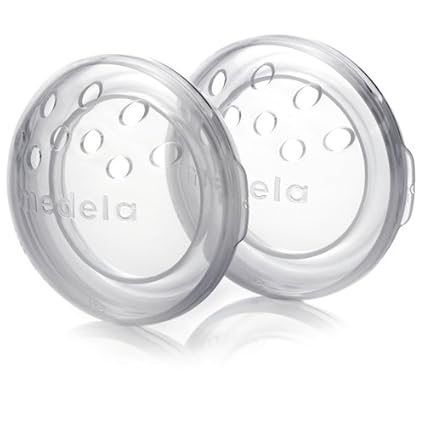
Breast Shells - Medela SoftShells (for nipple soreness and flat or inverted nipples), Medela TheraShells (for sore nipples, flat/inverted nipples and engorgement)
 |
| Medela SoftShells |
 |
|
Medela TheraShellsTM Breast Shells for Sore Nipples |
I only own the SoftShells; however, I can see how engorged boobies would be better suited in the TheraShells. I stumbled upon these beauties while reading up on how to heal faster and what more I could do aside from using lanolin. They clean easy and come with two sets of sponges to absorb leaks.
Nipple Shield - Medela 24mm Contact Nipple Shield (for latch-on problems, sore nipples or fast let-down)

Although I didn't have much use for a nipple shield, it's known to help primarily with latching issues. During my baby's one month visit, the nurse highly recommended using one in the event we would encounter such problems. Given how initially sore I was, we assumed we were having latching issues. In hindsight, I may have just needed to "toughen up".
Hands Free Pumping Bra - Simple Wishes Hands Free Breast Pump Bustier

With a single breast pump, I had absolutely no need for this ... then the double pump came along. How was I going to surf the 'net while pumping? Enter the double breast pump bustier. Spectacular product and well made. It was a toss up between a Medela bra or this one. I'm a sucker for pink ... and the reviews solidified my choice. Furthermore, the bra comes with a piece to lengthen the width - bonus!
Bottles - Medela Calma Breastmilk Feeding Set with 5 oz Bottle, Medela Calma Breastmilk Feeding Set 8 Oz, Philips AVENT 4 Ounce BPA Free Natural Polypropylene Bottles 3 Pk Pink, Philips AVENT 9 Ounce BPA Free Natural Polypropylene Bottles 3 Pk Pink Flowers, Lansinoh mOmma Feeding Bottle 5 ounce 2 count
 |
| Medela Calma Breastmilk Feeding Set with 5 oz Bottle |

 |
| Philips AVENT 4 Ounce BPA Free Natural Polypropylene Bottles 3 Pk Pink |
 |
| Philips AVENT 9 Ounce BPA Free Natural Polypropylene Bottles 3 Pk Pink Flowers |

Okay, so we have no idea which bottle our baby was going to take to ... we got *all* of these. Each baby is different and we still haven't gotten bottle feeding down. More on this subject to come :)
Milk Storage - Lansinoh Breast Milk Storage Bags, The First Years Milk Storage Organizer
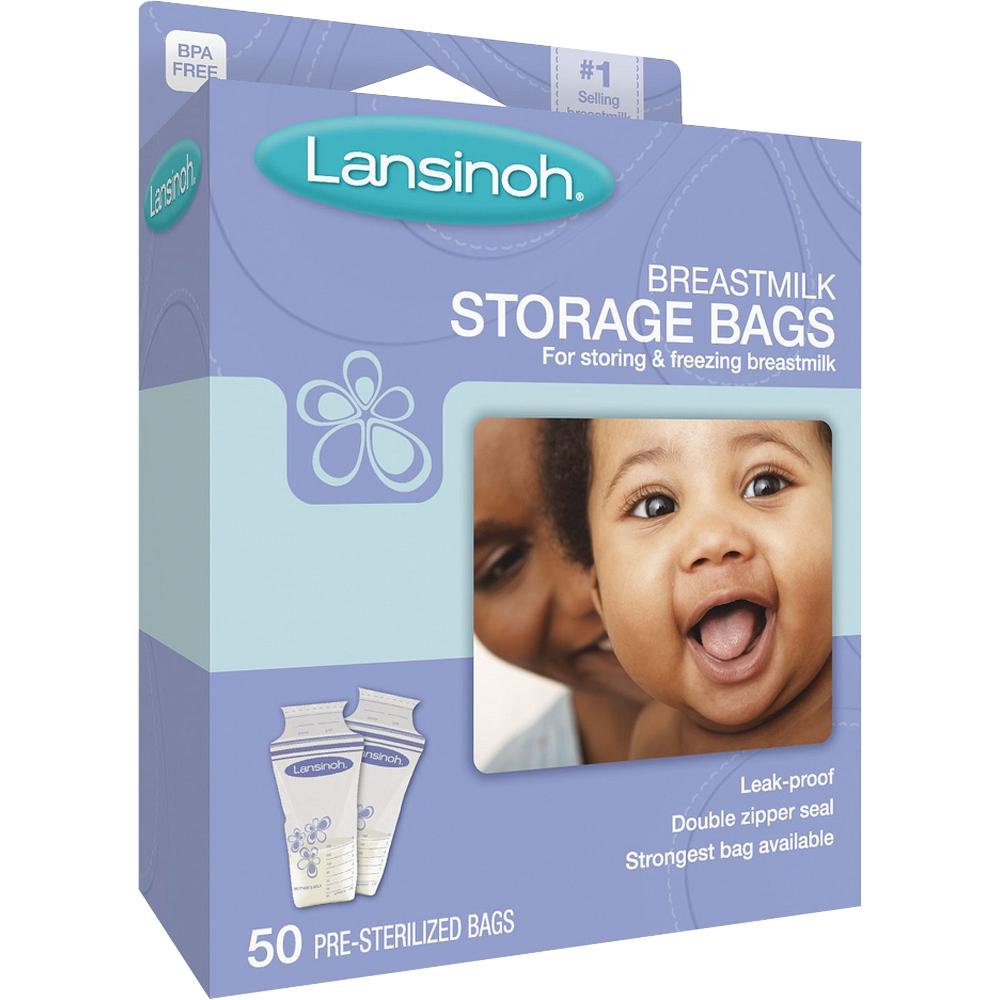 |
| Lansinoh Breast Milk Storage Bags |
 |
| The First Years Milk Storage Organizer |
This is where the list went from 13 to 14 ... duh, I forgot the breast milk storage bags. The storage bags are super and I have had no problems with them leaking. My freezer was a mess and before I knew better, I was freezing breast milk in the storage bags standing up. Now, the First Years Milk Storage Container and the Lansinoh Breast Milk Storage Bags aren't exactly compatible if you freeze the bags *first* and then place them in the container. The trick is to freeze them in the container and let the contraption do its job :)
Cold/Hot Breast Therapy - Lansinoh® TheraPearl® 3-in-1 Breast Therapy

Feel good solution for engorgement, mastitis, breastfeeding in general. I purchased two sets - one for the freezer and one for the microwave.
Nursing Pads - Lansinoh® Nursing Pads Disposable, DIY Reusable Breast Pads
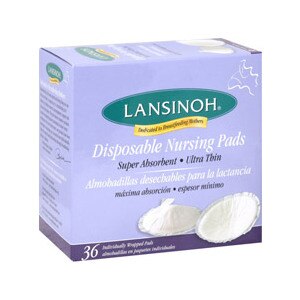 |
| Lansinoh® Nursing Pads Disposable |
 |
| DIY Reusable Breast Pads |
For leaks. Nuff said.
Nursing Bra - Thyme Maternity Soft Cup Lace Nursing Bra
 |
| Thyme Maternity Soft Cup Lace Nursing Bra |
I needed a cup size larger at first ... it's almost time for the next size up. Thyme bras do the job and are the least expensive outta the bunch from what I've found - especially when they are on sale at Toys R Us/Babies R Us.
Nursing Privacy Cover - Eddie Bauer Nursing Privacy Cover

I have this just in case I feel uncomfortable nursing in public. Public in my case also includes in front of family members which shall remain unnamed. Some places do have nursing rooms; however, I have seen first-hand how they have been abused and used disgustingly for other reasons (such as changing a dirty diaper instead of waiting a whole 2 minutes for the changing table).
Nursing Pillow - Boppy Bare Naked Pillow with Slipcover - Pink Owl, Boppy Slipcovered Pillow - Backyard Bloom
 |
| Boppy Bare Naked Pillow with Slipcover - Pink Owl |

Must, must, must have. Major help when it comes to positioning the baby for nursing - especially when they are newborn tiny. A Boppy can also be used for propping a baby and tummy time.
And of course, a baby!


